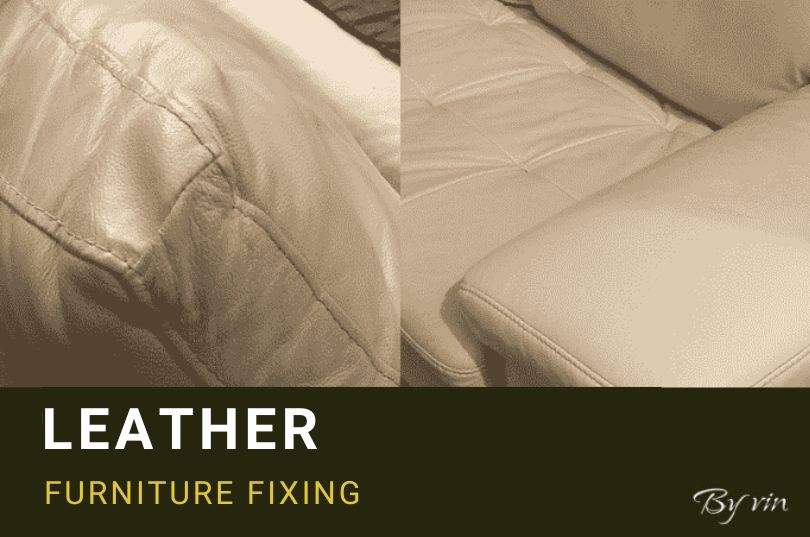
How to Fix a Tear in Leather Furniture

Leather furniture adds a touch of luxury and elegance to any home, but tears and scratches can detract from its appeal. Repairing a tear in leather furniture might seem daunting, but with the right tools and techniques, you can restore it to its original condition.
This guide will walk you through the leather repair process step-by-step.
The Types of Leather
Before starting, it’s important to identify the type of leather you’re dealing with. There are several types:
Aniline Leather: This leather is dyed throughout but lacks a protective coating. It is soft and has a natural look but is prone to stains.
Semi-Aniline Leather: This type has a light protective coating, making it more durable while maintaining a natural appearance.
Protected or Pigmented Leather: The most durable type, it has a polymer coating that protects against stains and scratches.
Assessing the Damage
First, evaluate the extent of the tear. Small cuts and scratches can often be repaired with a leather repair kit, while larger tears might require professional help. Clean the area around the tear with a damp cloth and let it dry to ensure the surface is free of dirt and oils.
Gathering Your Tools
To repair a tear in leather furniture, you will need:
- Leather repair kit
- Scissors
- Fine-grit sandpaper
- Leather cleaner
- Cloth
- Tweezers
Steps to Repair the Tear
Step 1: Clean the Area
Start by cleaning the area around the tear with a leather cleaner. This removes any dirt or oils that could interfere with the repair process. Use a cloth to apply the cleaner and allow the area to dry completely.
Step 2: Trim the Tear
Use scissors to trim any loose fibres around the tear. This creates a smooth surface for the repair. Be careful not to enlarge the tear.
Step 3: Apply the Sub-Patch
Most leather repair kits include a sub-patch material. Cut the sub-patch slightly larger than the tear and insert it under the torn area using tweezers. This patch provides a backing for the adhesive and filler.
Step 4: Apply Adhesive
Apply the adhesive from your repair kit to the edges of the tear and the sub-patch. Press the tear together and hold it for a few minutes until the adhesive sets. Ensure that the tear is as seamless as possible.
Step 5: Fill the Tear
Once the adhesive is dry, use the filler included in the kit to fill any gaps. Apply the filler with a spatula or the tool provided in the kit. Smooth it out and let it dry completely. You may need to apply several layers for a smooth finish.
Step 6: Sand the Area
After the filler dries, use fine-grit sandpaper to smooth the repaired area. Sand gently to avoid damaging the surrounding leather. Wipe away any dust with a clean cloth.
Step 7: Colour Matching
Most repair kits come with colour compounds. Mix the colour to match your leather and apply it to the repaired area. Use a sponge or brush to blend the colour seamlessly with the surrounding leather. Allow it to dry completely.
Step 8: Apply Leather Conditioner
Finally, apply a leather conditioner to the repaired area. This restores the leather’s natural oils and keeps it soft and supple. It also helps ensure that the colour remains vibrant.
Tips for Preventing Leather Tears
Prevention is key to maintaining your leather furniture. Here are some tips:
Avoid Sharp Objects: Keep sharp objects away from your leather furniture. Pets’ claws and kids’ toys can easily cause tears.
Regular Maintenance: Clean and condition your leather furniture regularly to prevent it from drying out and becoming brittle.
Use Protective Covers: Protect high-traffic areas with covers or throws to reduce wear and tear on your leather furniture.
When to Seek Professional Help
Sometimes, a tear may be too large or complex to fix at home. In such cases, it’s best to seek professional assistance. Professionals have the right tools and expertise to repair your leather furniture without causing further damage. For expert help, consider DKS International, known for providing high-quality leather sofa repair in Singapore. With years of experience and a commitment to excellence, DKS International can restore your leather furniture to its original condition, preserving its beauty and longevity.
Conclusion
Repairing a tear in leather furniture is achievable with the right approach. By following these steps, you can restore your furniture’s appearance and extend its lifespan. Regular cleaning, conditioning, and protection will keep your leather furniture looking its best.
While repairing a tear yourself can save money and maintain your furniture’s appearance, extensive damage may require professional repair services. DKS International is here to assist with all your leather repair needs, ensuring that your furniture remains a stunning centrepiece in your home.
With proper maintenance and prompt attention to damage, you can enjoy the elegance and comfort of your leather furniture for years to come.


